

In this article
How to prepare
Choosing a color
Selecting the perfect hair color isn't just about picking your favorite shade, it's about finding what works best with your natural features.
Here's how to choose a color that will make you shine.
Consider your skin tone
- Warm skin tones (yellow, peachy or golden undertones) pair beautifully with warm hair colors like golden blonde, auburn or rich chocolate brown.
- Cool skin tones (pink, red or bluish undertones) complement cool shades like platinum blonde, ash brown or black.
- Neutral skin tones can typically pull off most hair colors ... lucky you!
Work with your eye color
Your eyes can pop with the right hair color match.
- Blue eyes stand out with copper or golden blonde shades.
- Green eyes glow alongside auburn or rich chocolate colors.
- Brown eyes are enhanced by nearly any color, but especially caramel or mahogany tones.
Factor in your current hair color
The darker your natural hair, the more challenging it can be to achieve significantly lighter shades without professional help.
For the best at-home results:
- Stay within 1–2 shades of your natural color for the most predictable outcome.
- Consider using highlighting kits rather than all-over color for subtle dimension.
- Remember that going lighter typically requires bleaching first, which is more damaging.
Need help with at-home hair color?
Sally Expert Gregory Patterson recommends connecting with a Licensed Colorist for expert guidance. Free online video or text chats make it easy to get help choosing the right shade, applying dye correctly and maintaining your results.
Get startedPre-dye testing
Don't skip this crucial step to help prevent allergic reactions and color surprises. Taking the extra time for these tests can save you from potential disappointment, or worse, a trip to the emergency room.
Patch test
A patch test determines if you're allergic to the dye ingredients before you apply it all over your head.
How to conduct a patch test:
- Mix a small amount of the color and developer according to package directions.
- Apply a small dot behind your ear or in the crook of your elbow using a cotton swab.
- Let it dry and leave uncovered for 48 hours.
- Monitor for reactions: redness, itching, burning, swelling or blistering.
- If any reaction occurs, DO NOT use the product, and consult a dermatologist.
If you experience any uncomfortable symptoms during the 48-hour period, immediately wash the area with mild soap and cool water. Even mild irritation can signal that a full-head application could cause more severe problems.
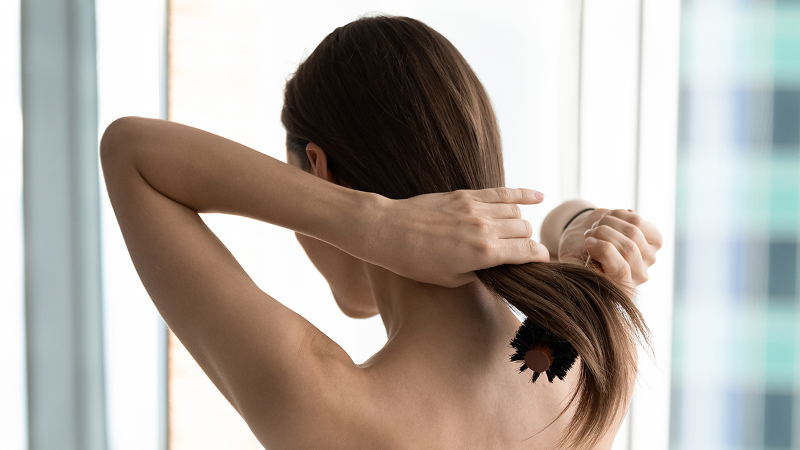
Strand test
A strand test is essential for understanding how hair color will develop on your specific hair, helping to prevent unexpected results.
How to conduct a strand test:
- Snip a small strand of hair from an inconspicuous area or collect shed hairs from your brush.
- Mix a small amount of color according to package directions.
- Apply to the hair strand and time according to the instructions.
- Rinse, shampoo and dry the strand.
-
Evaluate the results:
- a. Is the color what you expected?
- b. Is the hair texture still healthy?
- c. Do you need to adjust processing time?
Based on your strand test results, you might decide to adjust processing time, choose a different shade or proceed with confidence knowing exactly what to expect.
Both of these pre-dye tests take pre-planning but can save you from major color disasters or health emergencies. Consider them your insurance policy for successful at-home hair coloring.
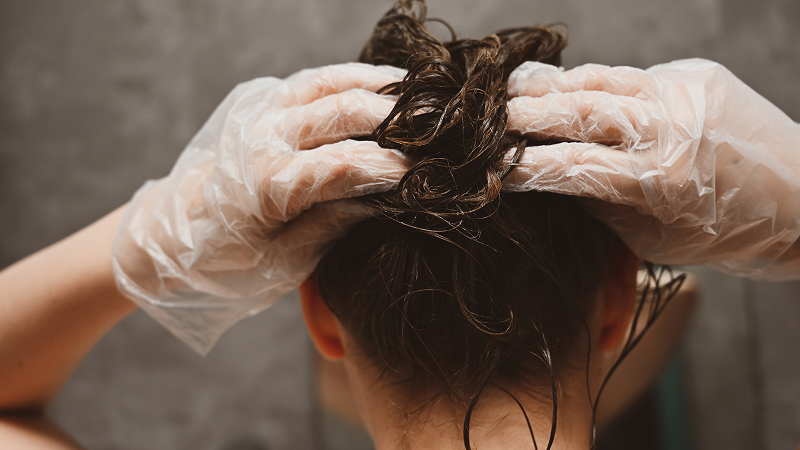
How to apply hair color at home
Ready to transform your look? Follow these detailed steps for professional-quality results without stepping foot in a salon.
Step 1: Wash hair 1-2 days before dyeing
Wash your hair 24-48 hours before dyeing, not immediately before. Use a clarifying shampoo to remove product buildup and residue that might prevent even color penetration. Skip conditioner unless your hair is extremely dry; in that case, apply only to mid-lengths and ends.
On coloring day, your hair should be completely dry and free of styling products. If you have sensitive skin, consider skipping the pre-wash altogether, as natural oils provide protection against irritation.
“Hair is a fiber, so treat it like fabric,” explains celebrity hairstylist & ambassador for Sally Beauty Gregory Patterson. “Think of how a white T-shirt takes dye better than a stained one.”
Step 2: Mix your dye & developer
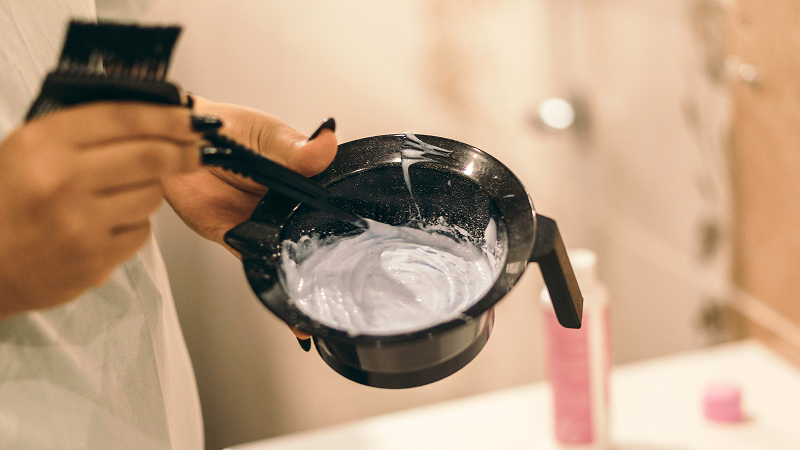
Start by carefully reading the manufacturer's instructions, as ratios vary between brands. Typically, you'll combine equal parts color and developer in a plastic or glass bowl (never metal, which can react with the chemicals). When mixing permanent color, use the developer volume specified in your kit: 10 volume for deposit only, 20 volume for standard coloring, 30 volume for maximum lift.
Pour the developer first, then add the color and blend until smooth with no streaks. The consistency should be similar to thick yogurt. Work quickly once mixed, as the chemical reaction begins immediately. Prepare enough to ensure complete coverage; it's better to have extra than to run out mid-application.
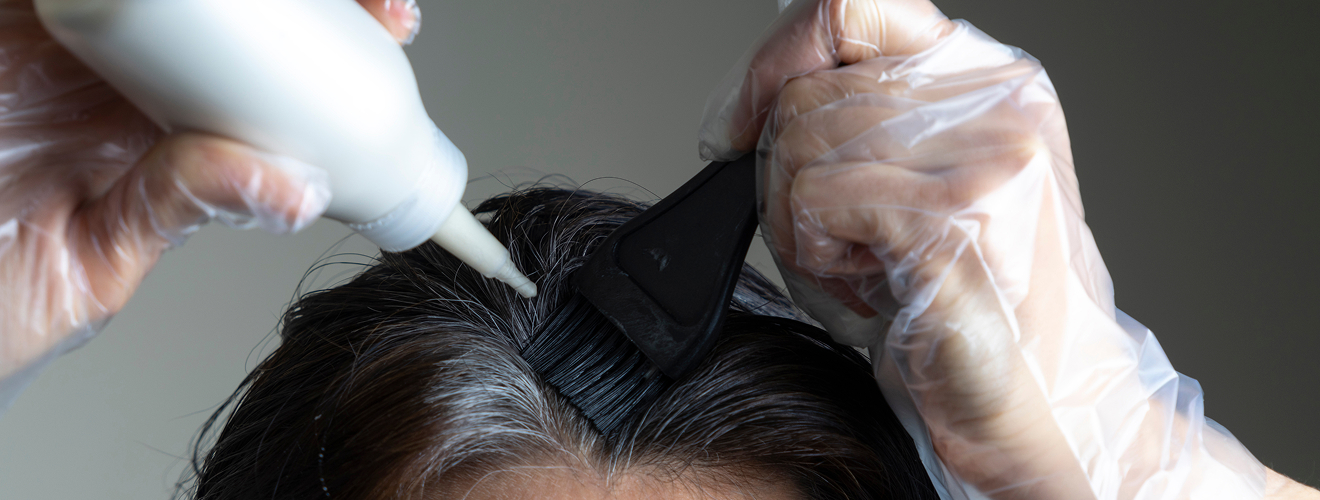
Step 3: Apply mixture to subsections
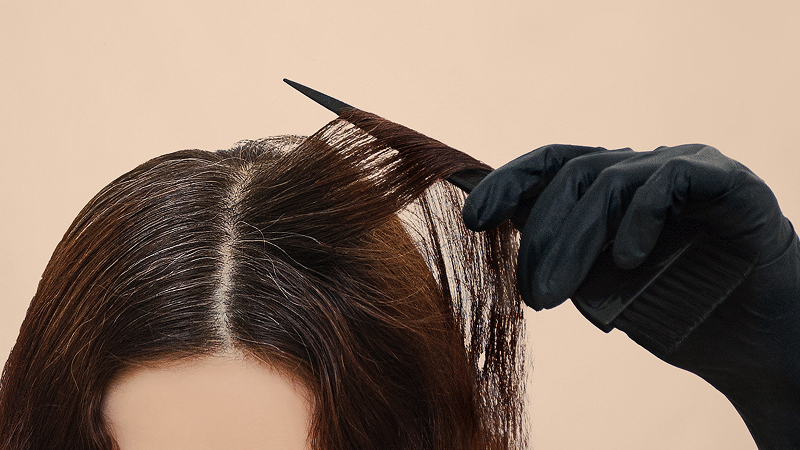
Divide your hair into four main sections: two in front (forehead to crown) and two in back (crown to nape). Secure three sections with clips while working on the fourth. Patterson recommends taking ¼” - ½” subsections to ensure proper coverage and saturation. For previously colored hair, start application at the roots, then work down through mid-lengths and ends. For virgin hair, first apply color one inch away from the scalp, then to mid-lengths and ends, saving roots for last to prevent "hot roots," which is an effect caused by the heat from your scalp accelerating color development. Make sure each strand is completely saturated but not dripping. Double-check commonly missed spots around the hairline, nape and behind the ears.
Step 4: Allow processing time
Follow the manufacturer's recommended processing time, typically 20-45 minutes, depending on the formula. Permanent color usually requires at least 30 minutes, while semi-permanent formulas might need just 15-20 minutes.
For gray coverage, you'll generally need the full recommended time. If refreshing color or doing root touch-ups, apply to new growth first, then pull through to ends during the last 5-10 minutes. Periodically check development by wiping a small section with a damp paper towel. For resistant gray hair, consider using a processing cap to retain heat and speed up development.
Pro tip: Rinsing color too soon will prevent dye molecules from fully absorbing. Patterson recommends following the suggested manufacturer’s processing time as a guide.
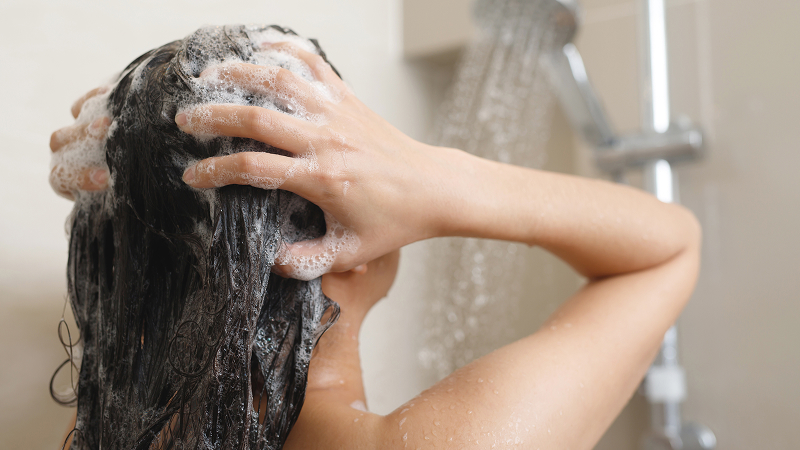
Step 5: Rinse, shampoo, condition & style
When processing is complete, rinse with lukewarm water (never hot) without removing clips; let the water do that work. Massage your scalp gently until the water runs clear.
For permanent color, follow with a sulfate-free, color-safe shampoo.
For semi-permanent color, thorough rinsing is usually sufficient. Next, apply a color-safe conditioner generously from mid-lengths to ends, or use the after-color conditioner from your kit. Leave this on for 3-5 minutes before rinsing with cool water for shine.
Pat hair gently rather than rubbing, which can cause premature fading. Air-dry if possible, and wait at least 48 hours before washing again to allow the color to fully set.
At-home hair color maintenance
Be honest about how much upkeep you're willing to do:
- Dramatic color changes require more frequent root touch-ups.
- Bold fashion colors (blues, purples, reds) fade faster and need regular refreshing.
- Consider your budget and the time commitment for maintaining your new look.
Choosing the correct dye type
Not all hair dyes are created equal! The type of dye you choose affects everything from how long your color lasts to your hair health. Here's what you need to know about each option:
Permanent hair color
Permanent hair color contains ammonia and developers that open the hair cuticle to deposit color molecules deep within the hair shaft. This type of dye lasts until your hair grows out, typically requiring root touch-ups every 4-6 weeks. Permanent color is ideal for complete gray coverage and significant color change when you want long-lasting results.
Semi-permanent hair color
Semi-permanent hair color is a deposit-only formula that coats the outside of the hair shaft without penetrating deeply. It gradually fades over 4-12 washes, making it perfect for adding shine, enhancing your natural color, trying temporary fashion colors or refreshing faded color.
Demi-permanent hair color
A gentler option with low-level developer, demi-permanent hair color slightly penetrates the hair shaft while causing less damage than permanent dye. It typically lasts through 12-24 washes, making it an excellent choice for blending early gray (up to 50%), enhancing natural color or adding richness and shine. The main limitation is that it won't lighten hair, and it fades gradually, which can be an advantage or disadvantage depending on your preference.
Temporary hair color
Temporary hair color sits entirely on the hair's surface and washes out completely with shampooing, usually within 1-3 washes. This option is perfect for one-day events, Halloween costumes, experimenting with bold colors or for those who aren't ready to commit to a longer-lasting change. The downsides include limited color selection, potential transfer to clothing and pillowcases and minimal impact on dark hair unless it's pre-lightened.
Choosing the right type depends on your goals: Are you covering gray completely? Just enhancing your natural color? Trying something wild for the weekend? Match your dye type to your color commitment level for the best experience.
Getting the right tools
Having the proper tools ready before you start dyeing makes the process smoother and helps achieve more professional results. Here's everything you'll need:
Application tools (choose based on your preference and dye type):
- Applicator bottle: Best for all-over color, precise root touch-ups and beginner-friendly application
- Bowl and brush: Offers more control for highlighting, balayage or precise application (preferred by professionals but requires more skill)
Protective gear:
- Gloves - Prevent stained hands (use the ones provided in your color kit or buy nitrile gloves)
- Cape or old towel: Protects clothing from drips and spills
- Protective barrier cream: Apply around hairline to prevent skin staining
Sectioning tools:
- Hair clips or alligator clips: Essential for dividing hair into manageable sections
- Tail comb- Creates precise partings and helps with application
Timing tools:
- Timer or phone alarm: Critical for accurate processing time
- Hand mirror: Allows you to check the back of your head during application
Cleanup supplies:
- Color stain remover: Removes dye stains from skin
- Disposable wipes: Quickly clean up drips during application
- Post-dye care:
- Color-safe shampoo and Conditioner - Prolong color life
- Deep conditioning mask: Restores moisture after chemical processing
- Color additives and boosters - Great for enhancing color
Investing in quality tools makes the dyeing process easier and often leads to better results. Many of these items can be reused for future color applications.
Hair Coloring FAQs
Is box dye bad for your hair?
Not necessarily, but it has limitations. Box dye is made to work on all hair types, so it often contains stronger chemicals like higher ammonia or metallic salts. While it can work well for minor changes or gray coverage, it's less precise than professional color and doesn’t account for your hair’s unique needs, like Porosity or previous dye jobs. It also doesn’t allow for color customization for your specific color journey.
Professional-level color allows for customization to find your best shade. Consult with a Licensed Colorist for tips on how to do it. It’s easier than you may think.
How often can you dye your hair?
It depends on the dye type and your hair’s health. Permanent dye is typically safe every 4-6 weeks, mostly focusing on roots. Semi- and demi-permanent dyes are gentler and can be used every 3-4 weeks.
If your hair shows signs of stress, breakage, dryness or dullness, space out dye sessions and prioritize deep conditioning. For frequent gray coverage, keep permanent color to the roots and use semi-permanent through your mid-lengths and ends for color refreshing or use color-depositing conditioner.
What can I do if the color turns out wrong?
Don’t panic, most mistakes are fixable. Consult with a Licensed Colorist OnDemand for your specific needs.
Bringing it all together: Your hair color game plan
Dyeing your hair at home can be a fun, rewarding way to take control of your look — especially when you understand your hair’s unique undertones and choose a formula that aligns with your goals. From selecting the right shade to prepping your hair and following proper application steps, a little preparation goes a long way.
And if you ever feel unsure, you don’t have to figure it out alone. Chat with a Licensed Colorist OnDemand for a personalized breakdown of what shades will work best for your hair type, condition and desired result. With the right tools and expert advice, achieving beautiful, salon-quality color at home is completely within reach.