

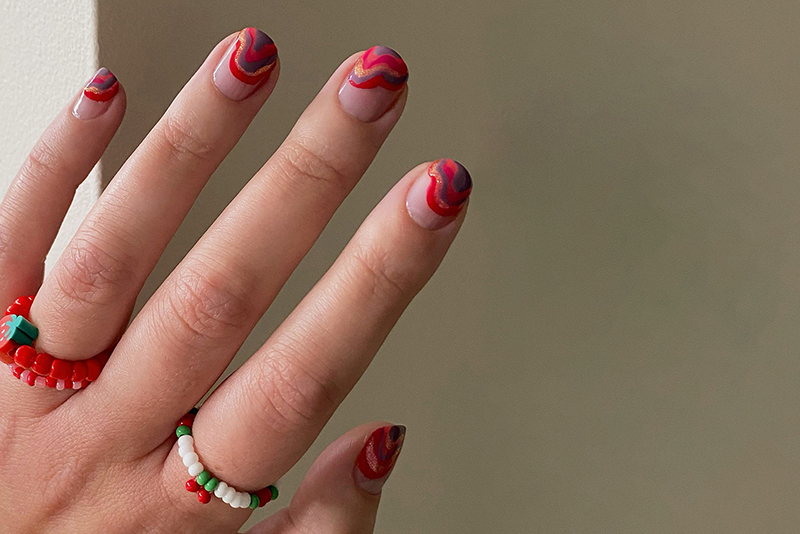
Getting into nail art doesn’t have to feel complicated. Whether you’re new to nail designs or looking to improve your at-home manicure, we’re here to make it easier. This guide covers simple nail designs, easy techniques, and trending ideas you can actually recreate at home.
In this article
-
Article summary
-
Meet our nail designs expert: Juli Russell
-
Nail designs for beginners: Where to start
-
Easy nail designs you can do at home
-
Simple nail design ideas for every style
-
Beginner nail art techniques to know
-
Beginner-friendly trending nail designs to try
-
How to make your nail designs last longer
-
Common beginner nail design mistakes to avoid
-
Build your beginner nail kit
-
Nail design inspiration to get you started
Article summary
- Start with simple nail designs, basic tools, and beginner-friendly techniques you can do at home.
- Try easy looks like polka dots, French tips, and accent nails to build confidence.
- Explore different styles, from cute press-ons to neutral, bold, and seasonal designs.
- Learn core techniques like dotting, striping, gradients, and decals to expand your skills.
- Recreate trending nail designs like micro French tips, aura nails, and chrome finishes.
- Prep, application, and maintenance are key to long-lasting, polished results.
- Build a beginner nail kit with essential tools and easy-to-use products.

Meet our nail designs expert: Juli Russell
“My name is Juli Russell, and I’ve been part of the nail community for nearly 15 years. I started during the early YouTube beauty era, when people were asking how I did my manicures, and it was easier to film and share the process. It was a fun time to exchange knowledge, learn from one another, and grow together.”
Today, Juli focuses on helping beginners feel confident creating their own nail designs at home. Her approach is simple. Start with the basics, keep your designs manageable, and build your skills over time. Whether you’re trying easy nail designs for the first time or experimenting with new techniques, nail art should feel accessible, creative, and fun.
Nail designs for beginners: Where to start
Starting your nail design journey is less about perfection and more about building confidence. With the nail supplies, a few easy techniques, and a little practice, you can create nail art that looks polished and professional right at home.
What counts as a nail design
If you’ve ever added a glitter top coat, painted a single accent nail, or tried a French tip, you’ve already done nail art. Nail designs don’t have to be intricate to make an impact.
Simple nail designs like dots, stripes, color blocking, or even mixing finishes (like glossy and matte) all count. The key is adding something intentional that elevates your manicure beyond a single color. For beginners, starting small makes it easier to build skills and experiment without pressure.
Must-have nail tools for beginners
You don’t need a full salon setup to get started, but a few essentials can make a big difference in how your nail designs turn out.
- Nail file and buffer for shaping and smoothing
- Cuticle pusher for clean, even application
- Base coat to protect nails and improve polish adhesion
- Top coat to seal your design and add shine
- Dotting tools for easy patterns like polka dots and florals
- Nail art brushes and striping brush for clean lines and simple designs
- Nail art stickers or decals for quick, beginner-friendly designs
Choosing the right base (polish, gel, press-ons, dip)
Your base sets the foundation for your entire nail design, so choosing the right option depends on your lifestyle, skill level, and how long you want your manicure to last.
Traditional nail polish is the most beginner-friendly and easy to remove, making it perfect for practicing new nail art design ideas. Gel polish offers longer wear and a high-shine finish but requires a lamp to cure. Press-on nails are a great option if you want instant designs with minimal effort, while dip powder provides durability and strength for longer-lasting looks.
There’s no one-size-fits-all approach. The best base is the one that fits your routine and makes you feel confident trying new nail designs.
Easy nail designs you can do at home
You don’t need advanced skills to create cute nail designs that look elevated. Starting with easy nail designs helps you build confidence while still achieving a polished, put-together look. These beginner-friendly ideas are simple, versatile, and perfect for practicing at home.
Polka dots
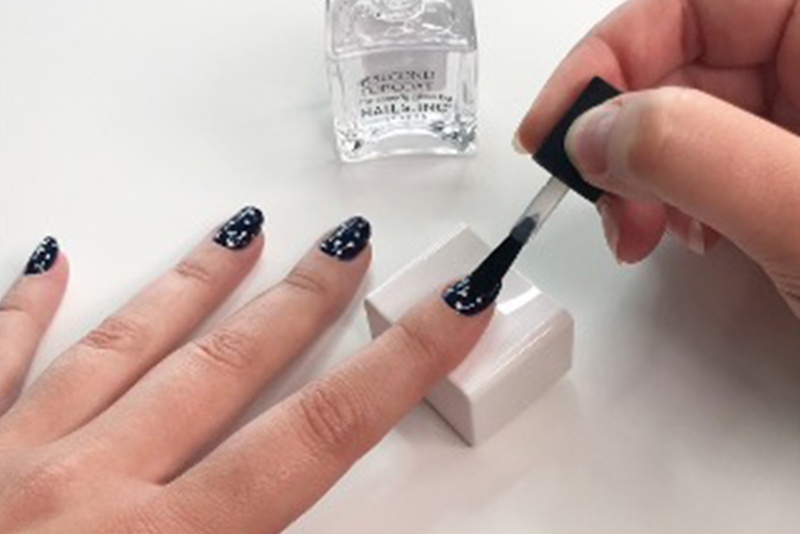
Polka dots are one of the easiest nail designs to master and a great place to start. All you need is a dotting tool (or even the tip of a bobby pin) to create evenly spaced dots over your base color.
- Apply your base color and let it dry completely.
- Dip a dotting tool into your chosen polish color.
- Lightly press dots onto the nail and seal with top coat.
Simple French tips
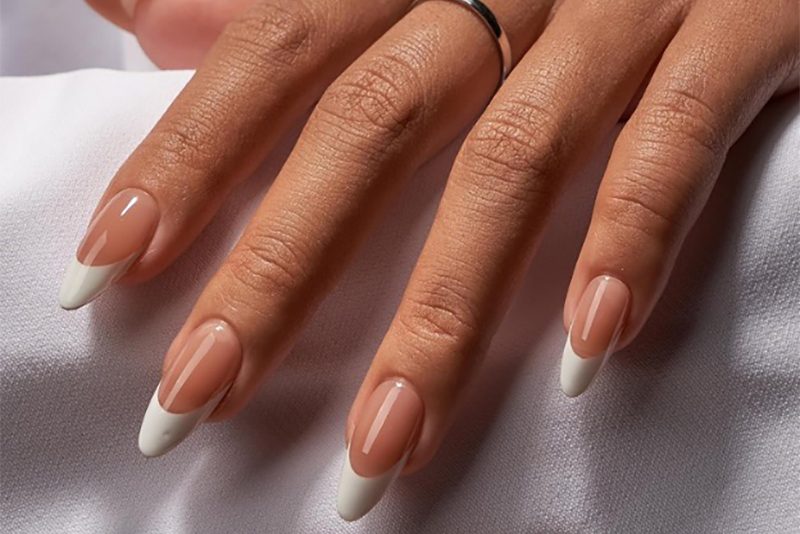
A French tip is a classic nail design that never goes out of style, and it’s easier to recreate than you might think.
- Apply a neutral or sheer base color and let dry.
- Use a thin brush or guide to paint the tip of the nail.
- Clean up edges if needed and finish with top coat.
Accent nails
Accent nails are perfect if you want to try nail art without committing to a full set of designs.
- Paint all nails with your base color.
- Choose one nail per hand and apply a different color or design.
- Seal everything with a glossy or matte top coat.
Minimal line designs
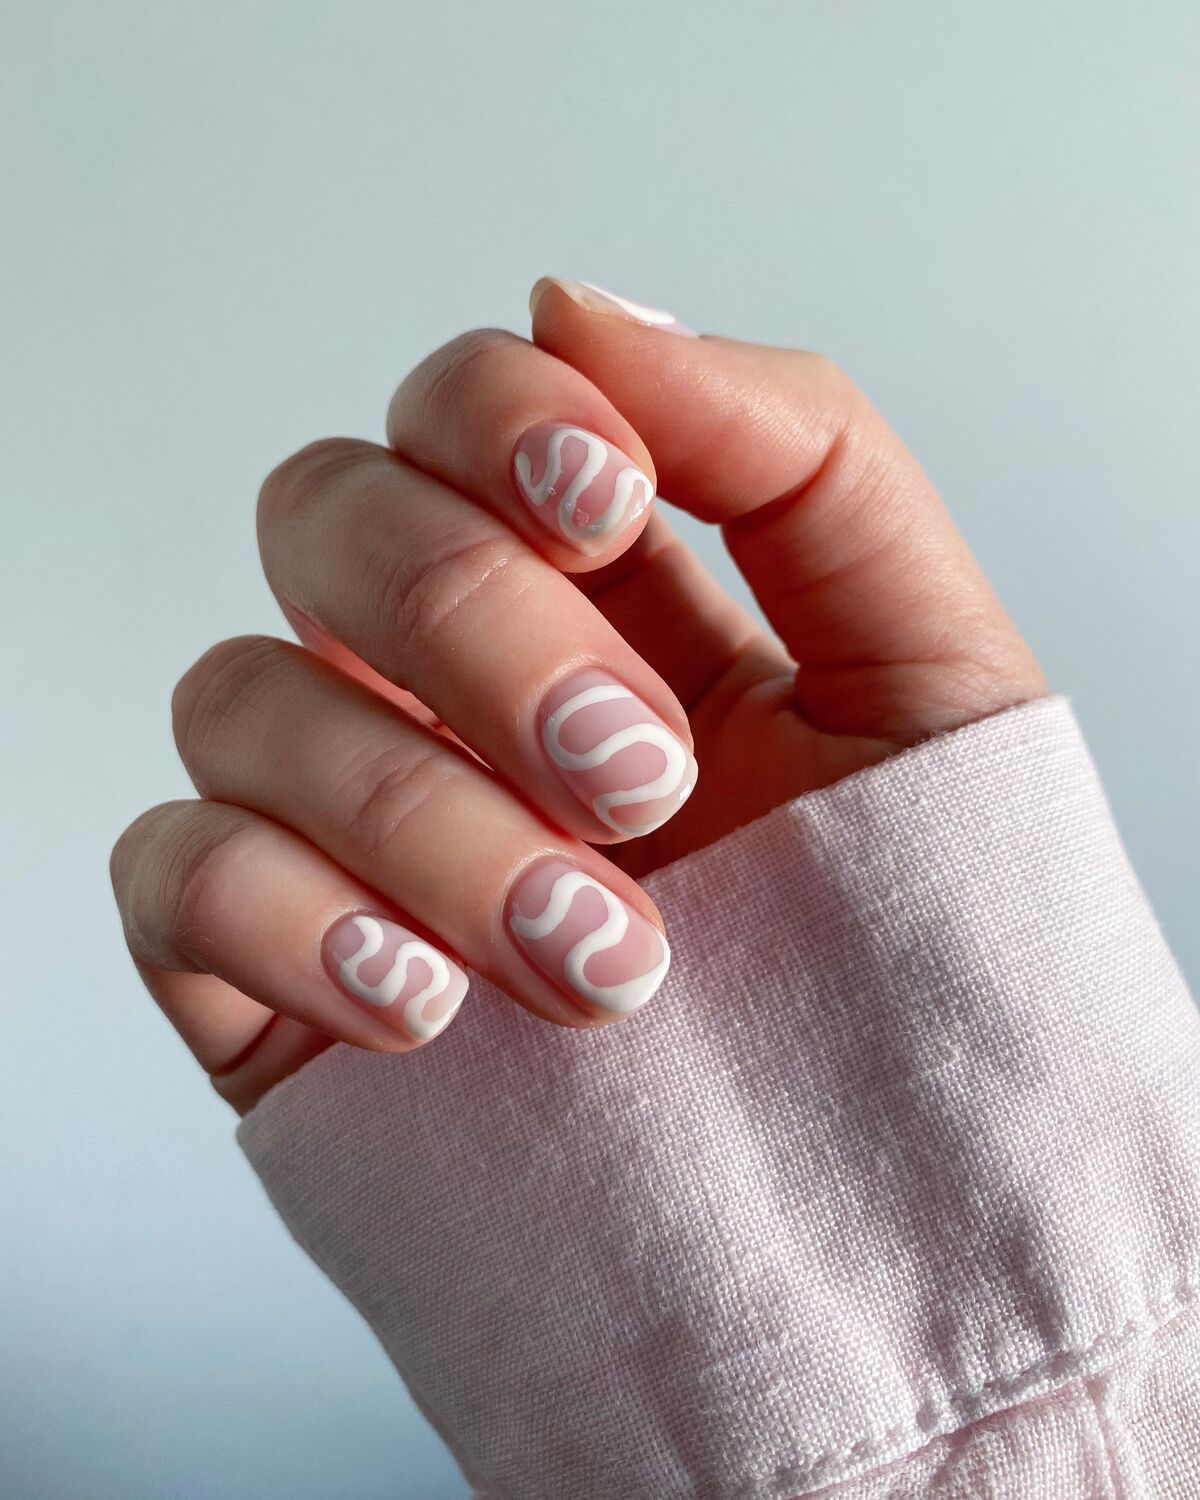
Clean lines can instantly elevate even the simplest manicure.
- Apply your base color and let dry.
- Use a striping brush to draw thin lines or simple shapes.
- Let dry and apply top coat to smooth and seal.
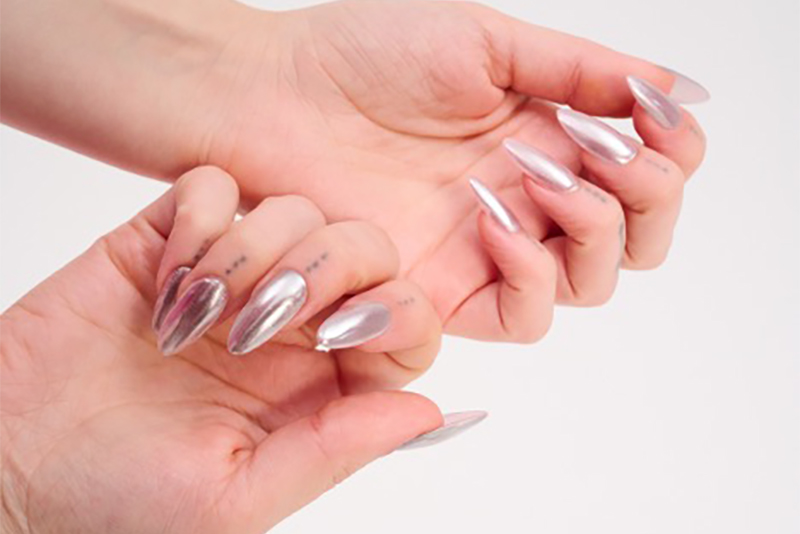
Glitter or chrome overlays (Get this New York Fashion Week look at-home)
If you’ve been seeing glossy, reflective chrome nails everywhere lately, you’re not imagining it. This high-shine look made waves at New York Fashion Week and continues to trend for its sleek, light-catching finish. In her tutorial, Sally Beauty nail expert Juli Russell breaks down how to recreate this chrome and shimmer overlay at home–no advanced skills required.
-
Apply your base color and cure.
Start with a neutral or sheer base (like a milky pink or nude) and cure if using gel. This creates a clean, even foundation
-
Apply one to two thin layers of gel polish until opaque.
A darker or deeper base tone, like black, will help create a stronger chrome payoff, while a sheer base will create a softer, more subtle finish.
-
Apply a no-wipe top coat and cure.
This step is key. A smooth, no-wipe surface allows the chrome powder to apply evenly and create that mirror-like finish.
-
Buff chrome powder onto the nail.
Using an applicator, gently rub chrome powder into the nail until it becomes smooth and reflective.
-
Add shimmer or glitter accents (optional).
Lightly tap or place fine glitter or flakes over parts of the nail for added dimension and a layered effect.
-
Seal with top coat and cure.
Finish with a final top coat to lock everything in, smooth the surface, and maximize shine.
Simple nail design ideas for every style
Nail designs are all about finding what fits your vibe. Whether you love something soft and minimal or bold and eye-catching, there are simple nail design ideas that work for every style and skill level. The best part? You can mix, match, and make each look your own.
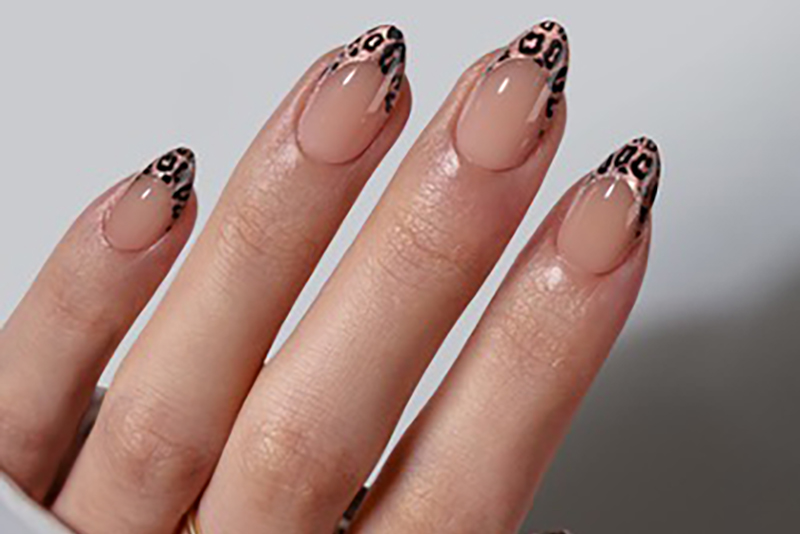
Cute nail designs on press-on nails
Press-on nails are one of the easiest ways to get cute nail designs without advanced skills. They come pre-designed or ready to customize, making them perfect for beginners.
Look for styles with pastel patterns, mini florals, or subtle glitter. You can also add small accents or a shimmer top coat to personalize your set.
Neutral & everyday looks
Neutral nail designs are perfect for a clean, elevated everyday look. Think sheer pinks, milky whites, and soft beige tones with minimal details.
Simple accents like micro French tips, tonal lines, or a single accent nail add just enough interest while keeping the look polished and easy to maintain.
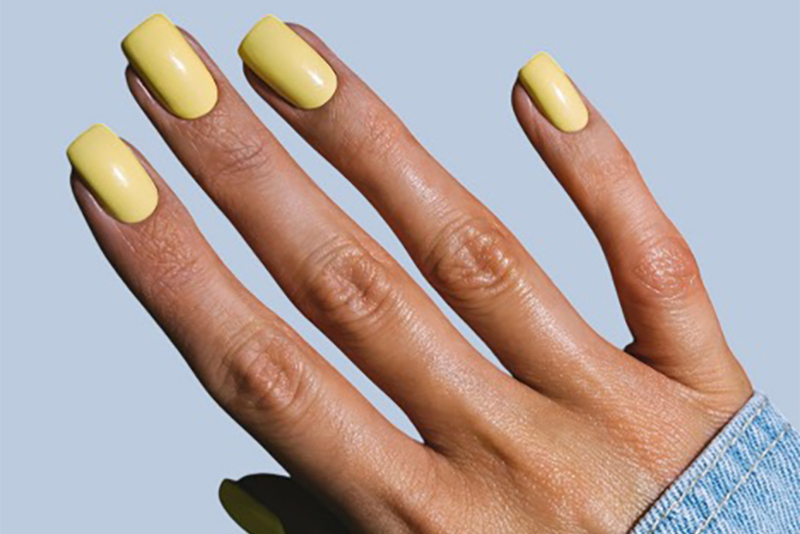
Bold & colorful designs
Bold nail designs are all about color and contrast. Bright shades, color blocking, or vibrant French tips can instantly make your nails stand out.
Seasonal nail design ideas
Seasonal nail designs keep your look fresh all year. Spring leans into pastels and florals, summer brings bright colors, fall features warm tones, and winter adds shimmer and deeper shades. Switching your nail designs with the seasons is an easy way to stay inspired and try something new.
Beginner nail art techniques to know
Nail art doesn’t have to be complicated. A few simple techniques can help you create a wide range of nail designs with no advanced skills required. Once you get comfortable with these basics, it becomes easier to try new looks and build your confidence.
Dotting techniques
Dotting is one of the easiest nail art techniques for beginners. It’s perfect for creating polka dots, simple florals, or small accent details.
Use a dotting tool (or the tip of a bobby pin), dip it into polish, and gently press onto the nail. You can vary the size and spacing of your dots to create different nail design ideas.
Striping & line work
Striping and line work can instantly make your nails look more elevated. Thin lines add a clean, modern feel, even with minimal effort.
Using a striping brush, try vertical lines, diagonal accents, or simple geometric shapes. Start slow and keep lines light for better control.
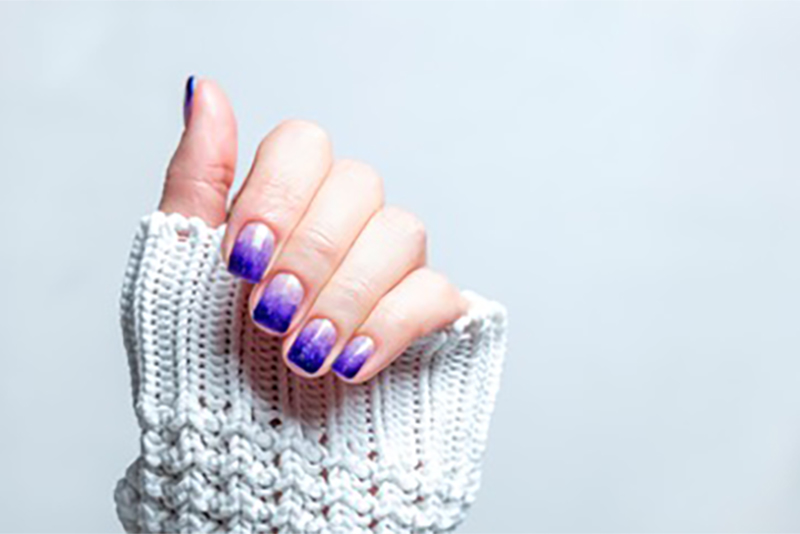
Sponge & gradient effects
Gradient nails create a soft, blended color effect that looks more advanced than it actually is.
Apply two polish shades to a sponge, then gently dab it onto the nail to blend the colors together. Build the color gradually, then finish with a top coat to smooth everything out.
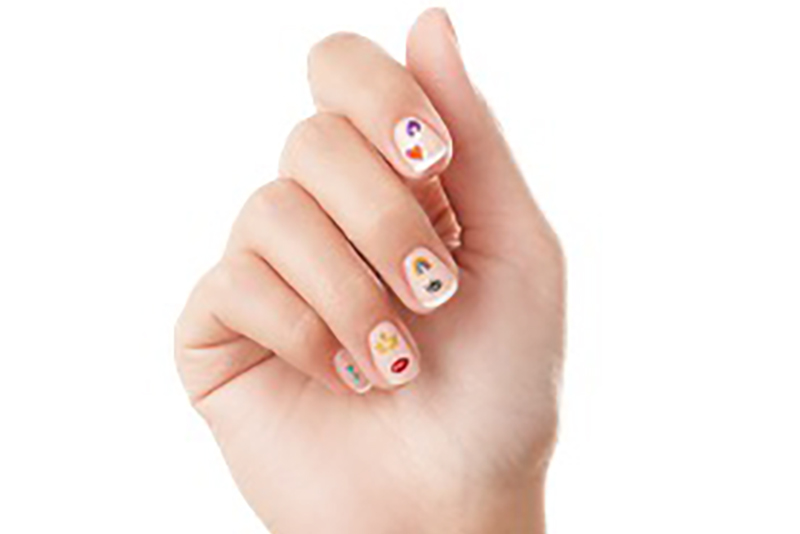
Using stickers, decals & press-ons
If you want detailed nail designs without the precision, stickers and decals are your best friend.
Apply them over dry polish, press them down securely, and seal with a top coat. Press-on nails are another easy option, giving you instant designs with no drawing required.
Beginner-friendly trending nail designs to try
If you’re ready to try something a little more on-trend, these beginner-friendly nail designs are a great place to start. They look elevated but are still simple enough to recreate at home with a few easy steps.
Micro French tips
A modern take on the classic French manicure, micro French tips feature ultra-thin lines for a clean, minimal look.
- Prep nails and apply a sheer or neutral base color.
- Let the base dry completely.
- Use a thin striping brush to paint a very fine line along the tip.
- Clean up edges if needed.
- Seal with a glossy top coat.
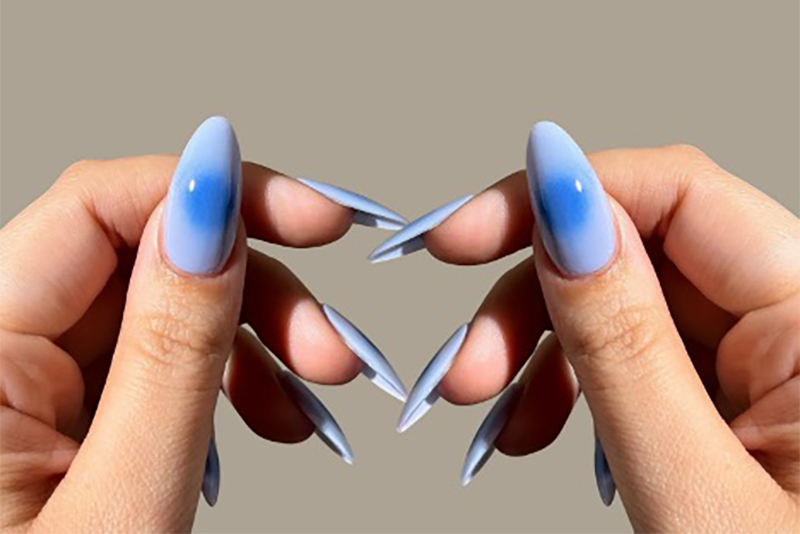
Aura nails (Simplified)
Aura nails create a soft, diffused glow effect in the center of the nail. This simplified version makes it beginner-friendly.
- Apply your base color and let it dry completely.
- Add a small amount of a second color to a sponge.
- Lightly dab the sponge onto the center of the nail.
- Build the color slowly to create a soft, blended effect.
- Apply a sheer layer of the base color over top. (optional for extra blending)
- Finish with a top coat to smooth everything out.
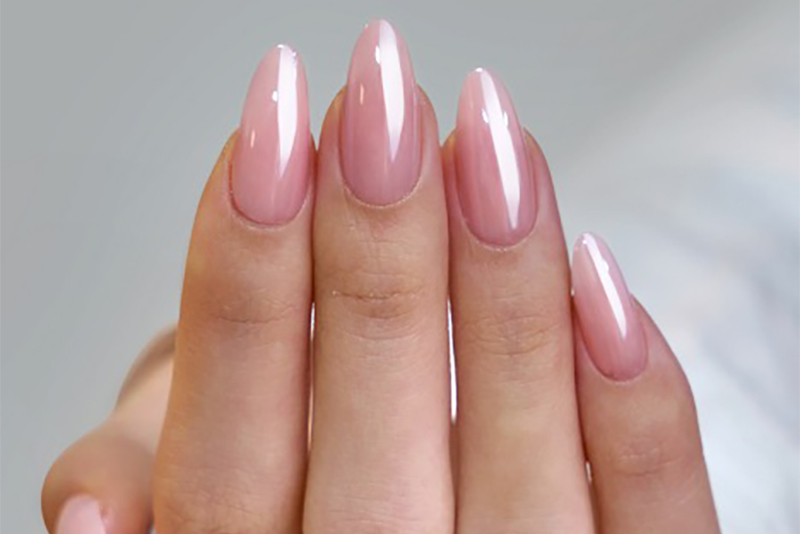
Chrome & glazed finishes
Chrome and glazed nails give a reflective, high-shine finish that feels instantly elevated.
- Prep nails and apply your base color.
- Cure or let polish dry until slightly tacky.
- Apply a no-wipe top coat and cure if using gel.
- Buff chrome powder or apply a pearly glaze evenly across the nail.
- Continue buffing until the surface looks smooth and reflective.
- Dust off excess product around the nail.
- Seal with a final top coat to lock in shine.
Soft pastel nail designs (Skittle mani)
Pastel nails are a go-to for an easy, polished look that still feels fun and on-trend.
- Choose 2–5 pastel shades that complement each other
- Apply a different color to each nail or use one as your base
- Add simple accents like dots, lines, or micro French tips
- Let each layer dry before adding details
- Finish with a glossy or matte top coat depending on your style
How to make your nail designs last longer
A great nail design is only as good as how long it lasts. With the right prep, application, and aftercare, your manicure can stay looking fresh, glossy, and chip-free for days.
Nail prep basics
Proper prep is the foundation of long-lasting nail designs. Skipping this step can lead to lifting, chipping, or uneven application.
Start by shaping your nails and gently pushing back cuticles. Lightly buff the nail surface to remove shine, then cleanse with nail prep solution or remover to eliminate oils. Finish with a base coat to help polish adhere evenly.
Application tips for a smooth finish
How you apply your polish can make a big difference in how your nail designs look and wear over time.
- Apply thin, even layers instead of thick coats.
- Let each layer dry before adding the next.
- Use steady, controlled strokes.
- Avoid overloading the brush.
Top coats & sealing your design
A top coat is essential for locking in your nail design and extending its wear.
Apply a generous but even layer of top coat over your entire nail, making sure to cap the edges. Reapplying a thin layer every few days can help maintain shine and durability.
Maintenance & touch-ups
A little maintenance goes a long way in keeping your nail designs looking fresh.
- Avoid using your nails as tools.
- Wear gloves when cleaning.
- Touch up small chips.
- Keep nails hydrated with cuticle oil.
Common beginner nail design mistakes to avoid
When you’re just starting out, a few small mistakes can make a big difference in how your nail designs look and last. The good news is they’re easy to fix once you know what to watch for.
Skipping prep
Skipping nail prep is one of the most common mistakes and one of the biggest reasons designs don’t last.
Nail polish won’t adhere as well to unprepped nails, and oils or residue can lead to lifting and chipping. Taking a few extra minutes to shape, buff, and cleanse your nails creates a smooth base that helps your design go on cleaner and last longer.
Using too much product
It’s tempting to load up your brush, but too much product can quickly lead to uneven, messy results.
- Thick layers take longer to dry and are more likely to smudge.
- Excess polish can pool around the cuticle.
- Designs can look bulky.
Applying thin, even layers gives you more control and a more polished finish.
Rushing dry time
If layers aren’t fully dry, colors can drag, details can blur, and top coat can trap imperfections. Letting each layer set properly helps your nail designs stay crisp and long-lasting.
Overcomplicating designs
It’s easy to want to try every trend at once, but simpler designs often look better, especially when you’re learning. Starting with easy nail designs like dots, lines, or accent nails helps you build confidence and control. As your skills improve, you can gradually layer in more detail without overwhelming your final look.
Build your beginner nail kit
Building your nail kit doesn’t have to be complicated. Sally Beauty offers everything from full nail kits to individual tools and products, so you can start simple and build over time. Whether you’re using a complete starter kit or mixing your own essentials, the goal is to create a setup that makes doing your nails easy and approachable.
Essential tools
Start with the core tools that help you prep, shape, and maintain your nails. These are the foundation of every manicure, whether you’re doing simple nail designs or more detailed nail art.
- Nail file and buffer for shaping and smoothing
- Cuticle pusher and cuticle nippers for clean prep
- Nail clippers for length and maintenance
- Nail polish remover to prep the nail surface
- Cotton pads or lint-free wipes for clean application
- Dotting tool or nail art brushes Cotton pads
Beginner-friendly nail products
Once you have your tools, focus on products that are easy to use and versatile. These will help you create a wide range of nail designs without overcomplicating your routine.
- Base coat to protect nails and improve polish wear
- Nail polish in a few go-to shades (neutrals + one bold color)
- Top coat to seal and extend your design
- Press-on nail kits for quick, ready-made designs
- Gel or dip starter kits if you want longer-lasting results
Sally Beauty carries beginner-friendly options like nail extension kits, dip powder kits, and press-ons designed to simplify the at-home manicure process while still delivering salon-quality results.
Sally Beauty Expert, Juli Russell, states, “If you shop Sally Beauty kits, it’s an economical way to get salon-like quality at home and start your DIY nail journey.”
Optional add-ons to elevate your designs
- Nail art brush with dotting tools for easy patterns and accents
- Striping brushes for clean lines and simple designs
- Nail stickers and decals for detailed looks without precision
- Chrome powders or glitter for added dimension and shine
- Cuticle oil and hand care for a polished, finished look
Nail design inspiration to get you started
Getting started with nail designs is all about trying new things and finding what you enjoy. Whether you’re keeping it simple with easy nail designs or experimenting with trending looks, every manicure is a chance to learn and build confidence.
As Sally Beauty nail expert Juli Russell puts it, “Don’t be afraid to try. It’s just nails. If you don’t like it, you can remove it. Nails are a fun way to get creative and express yourself.”
Start small, stay consistent, and have fun with the process. The more you practice, the more comfortable you’ll become creating nail designs that feel uniquely yours.
Beginner nail designs FAQs
What is the easiest nail design to do yourself?
The easiest nail designs for beginners are polka dots, simple French tips, and accent nails. These require minimal tools, are forgiving if you make mistakes, and still look polished and intentional.
What are some simple nail design ideas for beginners?
Simple nail design ideas include dots, stripes, color blocking, pastel nails, and glitter overlays. These styles are easy to recreate at home and help build confidence as you practice
What are the 5 basic nail art designs?
Some of the most common beginner nail designs include polka dots, French tips, accent nails, stripe or line designs, and gradient (ombre) nails. These foundational styles can be mixed and customized as your skills improve.
What is the most popular nail design right now?
Some of the most popular nail designs right now include micro French tips, chrome or glazed finishes, aura nails, and soft pastel looks. Many of these trends can be simplified for beginners using basic tools and techniques.
What is trending in nail designs for 2026?
In 2026, nail design trends focus on minimal but elevated looks. Popular styles include chrome finishes, soft gradients like aura nails, micro French tips, and clean, neutral designs with subtle details.
What are some classy nail color ideas?
Classy nail colors include sheer pinks, milky whites, soft beige tones, and muted neutrals like taupe or light gray. These shades create a clean, polished look that works for everyday wear.
How can I make my nail designs last longer?
To make nail designs last longer, start with proper nail prep, apply thin layers of polish, and finish with a top coat. Reapplying top coat every few days and avoiding harsh activities can also help extend wear.
What do I need for beginner nail art at home?
To get started with nail art at home, you’ll need basic tools like a nail file, buffer, base coat, top coat, and a few nail polish shades. Optional tools like dotting tools, striping brushes, and stickers can help you create more detailed designs.

