
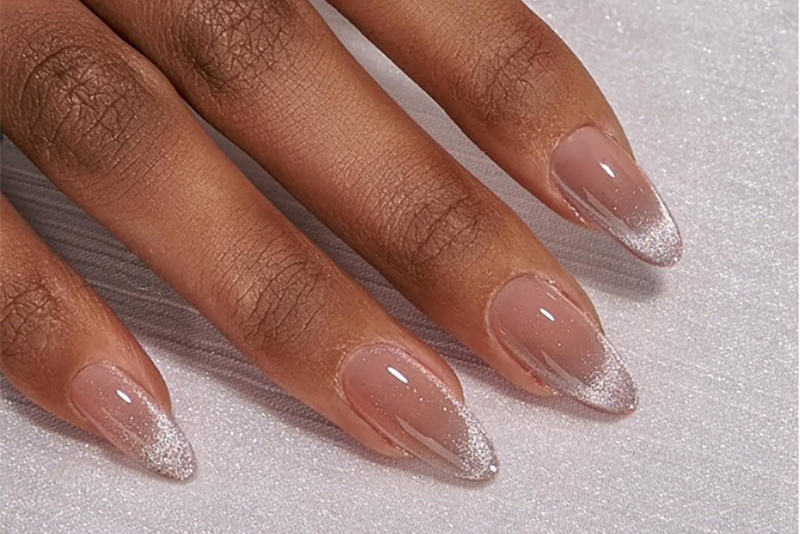
Press-on nails are the beauty shortcut that delivers salon-level results in minutes — no appointment, no dry time and no stress. Whether you want everyday polish, bold statement nails or something special for an event, press-ons make it easy to switch up your look on your terms.
Today’s press-on nails are nothing like the stiff, one-size-fits-all sets of the past. They’re designed with better shapes, softer gel materials, customizable sizing and longer-lasting wear, so you can get a flawless look that feels comfortable and looks professional.
Table of Contents:
- What press-on nails are (and how they’ve evolved)
- Exactly how to apply them for the best results
- Tips to make them last longer
- How to remove them safely without damaging your natural nails

Meet our nail designs expert: Juli Russell
“My name is Juli Russell, and I’ve been part of the nail community for nearly 15 years. I started during the early YouTube beauty era, when people were asking how I did my manicures, and it was easier to film and share the process. It was a fun time to exchange knowledge, learn from one another, and grow together.”
In this article
-
What are press-on nails?
-
How press-ons work
-
Who are press-on nails perfect for?
-
What you’ll need to begin applying your press-ons
-
How to apply press-on nails (step-by-step guide)
-
How long do press-on nails last?
-
How to make press-on nails last longer
-
Can you reuse press-on nails?
-
How to remove press-on nails safely
-
Do press-ons damage your nails?
-
Common press-on nail mistakes to avoid
-
Best press-on nail styles to try
-
Ready to try press-on nails?
-
Press-on nail FAQs
What are press-on nails?
Press-on nails are pre-designed artificial nails that you apply directly to your natural nails using adhesive tabs or nail glue. They’re designed to give you a polished, salon-quality look in minutes all while staying in the comfort of your own home.
Modern press-ons are made with lightweight, flexible materials that contour comfortably to your natural nail. Most press-on sets come in multiple sizes so you can find your perfect fit, and many can be shaped, filed, or designed by you to make your own custom press-on nails.
Think of them as instant glam with options:
- Adhesive tabs for short-term wear (great for events or weekends)
- Nail glue for longer-lasting hold (up to two weeks with proper prep)
- A wide range of shapes, lengths and finishes: from natural, short press-on nails to bold and statement-making
The best part? Press-on nails give you total control. You can switch styles whenever you want, protect your natural nails from harsh enhancements, and experiment with trends without the long-term commitment.
How press-ons work
Press-on nails stay in place by forming a secure, seamless bond between your natural nail and the enhancement, and the strength of that bond comes down to how well it’s sealed.
When applied correctly, the adhesive forms a tight barrier that prevents lifting, moisture from getting underneath, and premature popping. That’s what makes the difference between a set that lasts a night and one that lasts up to two weeks.
Here’s what helps them stay put:
- A clean surface: removing oil and residue gives the adhesive something to grip.
- Proper sizing: a press-on that fits edge-to-edge creates better contact and durability.
- Even pressure during application: pressing firmly from cuticle to tip eliminates air pockets.
The result? A secure, natural-looking finish that moves comfortably with your nails, not against them.
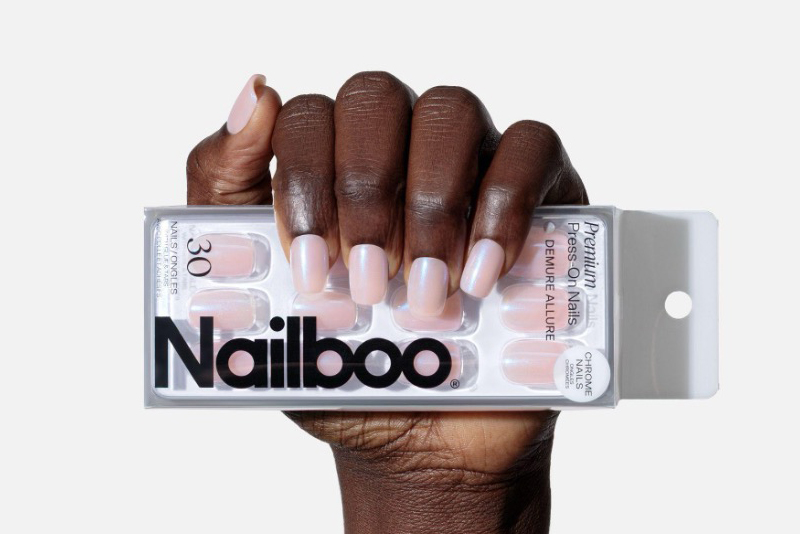
Who are press-on nails perfect for?
Press-on nails are designed for real life, not just salon appointments. If you love the look of a fresh manicure but want more flexibility, less commitment, or more control over your time, French tip press-on nails might be exactly what you’ve been looking for.
Press-ons are especially great if:
-
You’re always on the go.
Between work, school, family, and everything in between, finding time for a salon visit isn’t always realistic. Press-ons give you a polished, put-together look in minutes without needing to make an appointment. -
You love changing your style.
One week it’s short and natural, the next it’s long and bold. Press-ons let you experiment with trends, shapes, and finishes without being locked into one look for weeks. -
You have a special event coming up.
Weddings, vacations, date nights and interviews – press-ons are perfect for moments when you want instant glam without long-term commitment. -
You’re focused on protecting your natural nails.
When applied and removed properly, press-ons can be a gentler alternative to long-term enhancements. They give you the look of added length without continuous filing or fills. -
You’re new to nail enhancements.
Press-ons are beginner-friendly and low-pressure. You can practice application, test different lengths, and build confidence, all at your own pace.
What you’ll need to begin applying your press-ons
A flawless press-on manicure starts with the right tools. The good news? You don’t need a salon setup; just a few essentials to ensure your nails stay secure, smooth and long-lasting.
Here’s what to have on hand before you begin:
-
Your press-on nail set
Most press-on nail kits include multiple sizes so you can find your perfect fit, plus basic tools like a mini file or cuticle stick. -
Nail glue or adhesive tabs
Choose adhesive tabs for short-term wear or nail glue for longer-lasting hold. If you want up to two weeks of wear, glue is your go-to. -
Nail file and buffer
Lightly buffing your natural nail with a nail file and buffer removes shine and creates texture, helping the adhesive grip better. -
Cuticle pusher
Gently pushing back your cuticles with a cuticle pusher creates more surface area for the press-on to bond securely. -
Alcohol pad or nail dehydrator
Use an alcohol pad or a nail dehydrator to remove oil and residue, which is one of the most important steps for long wear. Clean, dry nails mean stronger adhesion.
Optional but helpful:
- Cuticle tools like nail clippers (for customizing length)
- A top coat (for added shine or extra seal)
- Cuticle oil (for post-application hydration)
How to apply press-on nails (step-by-step guide)
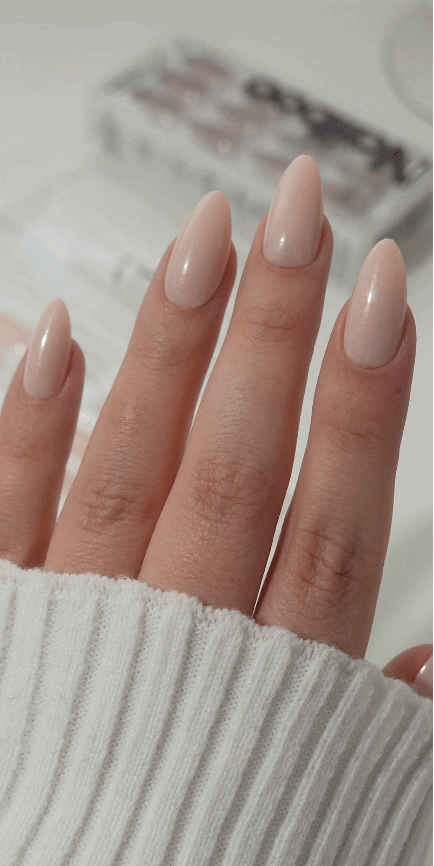
Applying press-on nails is easier than you think. Follow these steps to get a secure, long-lasting finish.
Step 1 – Prep your natural nails
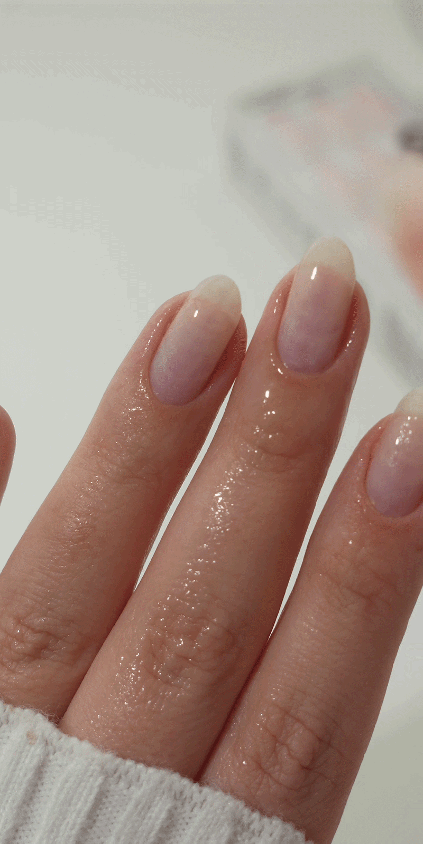
Prep is everything. If you want your press-ons to stay put, don’t skip this step.
Start by removing any old polish and washing your hands. The nail plate naturally swells in water, which could cause shrinking under the press-on. So it's best to avoid water prior to and after applying press ons. Instead, cleanse nails with isopropyl alcohol and a lint-free wipe . Gently push back your cuticles to create more surface area for the press-on to adhere to. Lightly buff the surface of each nail to remove shine to help the adhesive grip better.
Finish by wiping each nail with an alcohol pad or nail dehydrator to remove oils and residue. Your nails should feel clean and completely dry before moving on.
Step 2 – Size & customize
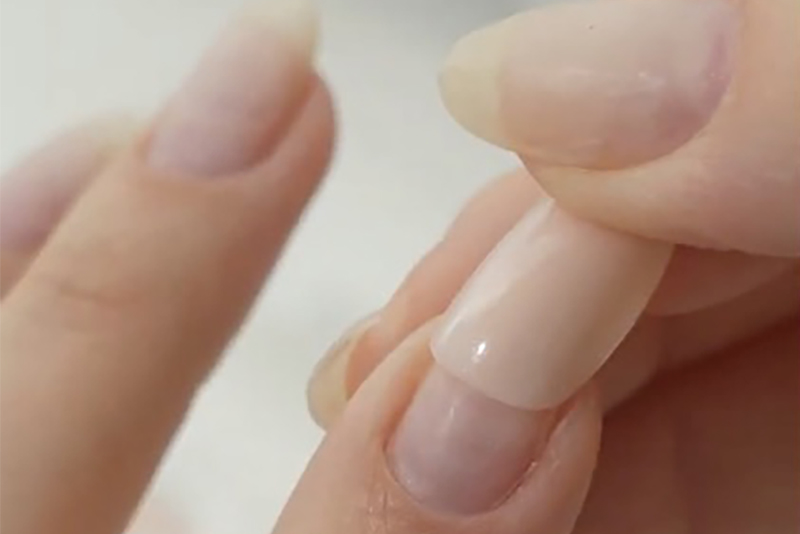
Before applying any adhesive, lay out your press-ons and match each one to your natural nails. The press-on should fit sidewall to sidewall without overlapping onto your skin.
If you’re between sizes, choose the slightly larger option and gently file down the sides to fit your nail plate. You can also trim or shape the tips to your preferred length after applying.
Step 3 – Apply adhesive
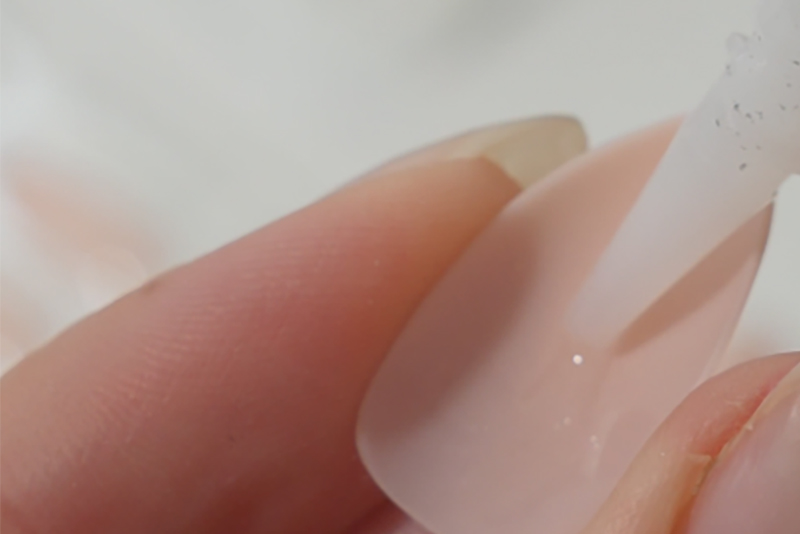
Now it’s time to bond.
If you’re using adhesive tabs, apply the tab to your natural nail first, press firmly, then remove the backing before placing the press-on.
If you’re using nail glue for longer wear, apply a thin, even layer to both your natural nail and the back of the press-on. Too much glue can cause overflow and air bubbles.
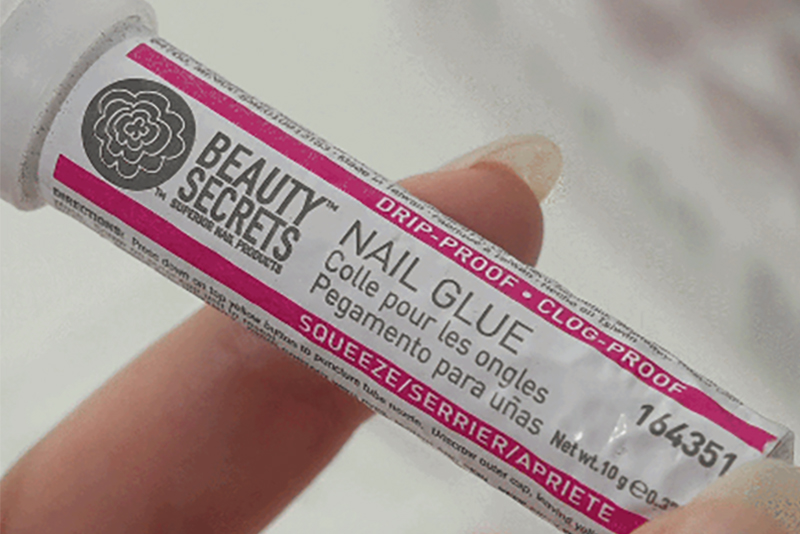
Sally Expert, Juli Russell, provided these pro tips to help your press-on nails last even longer:
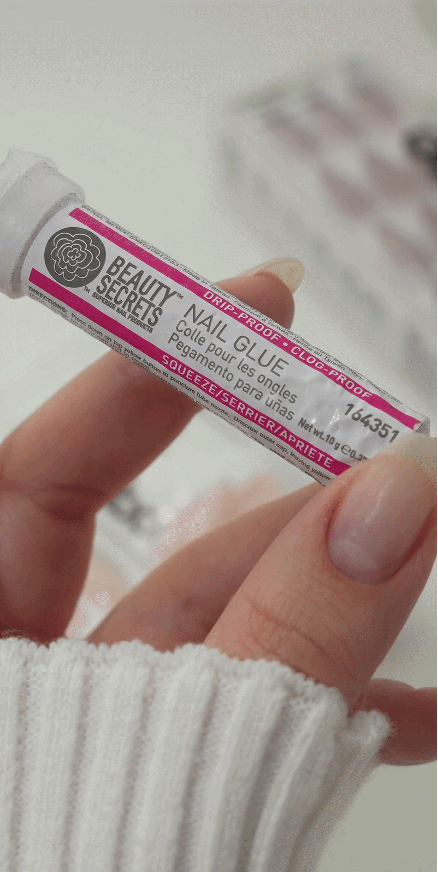
“My favorite glue is the Beauty Secrets Drip Proof Clog Proof Nail Glue. It went viral for a reason. It doesn’t clog, it doesn’t drip, and it lasts.
A little goes a long way. My tip is to apply glue to both the press-on and your natural nail, using a T-shape so it interlocks and creates a seamless bond.”
Step 4 – Press & hold
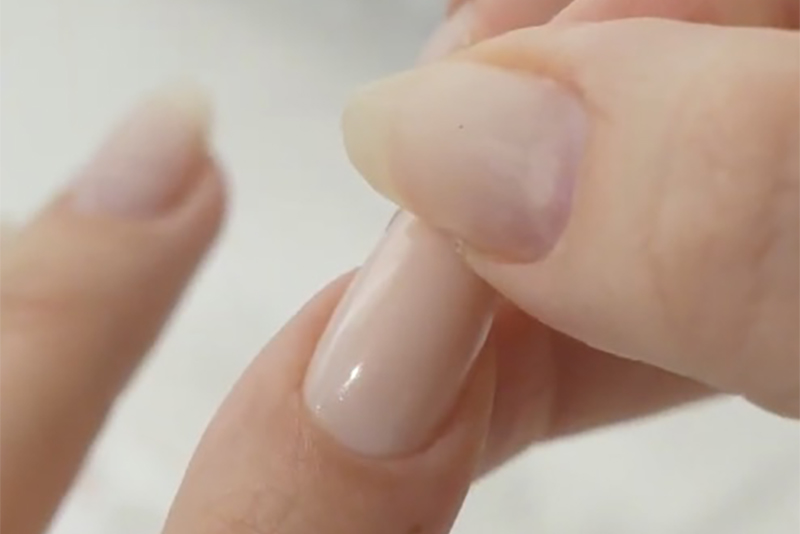
Place the press-on at a slight angle near your cuticle, then lower it down toward the tip of your nail. This helps prevent air pockets.
Press firmly and hold for at least 15–30 seconds to secure the bond. Repeat on each finger.
For best results, avoid water and heavy hand activity for at least an hour after application. Many pros recommend applying press-ons at night so the adhesive has time to fully set.
How long do press-on nails last?
One of the best things about press-on nails is that you’re in control of how long press-on nails last. Depending on your application method and lifestyle, they can last anywhere from a single event to up to two weeks.
If you’re using adhesive tabs, expect wear time to range from one to three days. They’re perfect for short-term glam, such as weddings, weekends, vacations, or a quick style refresh.
If you’re using nail glue and prepping properly, your press-ons can last 10–14 days. Longevity depends on how well you prep your nails, how evenly you apply the adhesive, and how you care for your hands afterward.
Daily habits also play a role. Frequent hand washing, long showers, hot water, and hands-on tasks can shorten wear time. But with the right prep and care, press-ons are designed to hold strong while still being safely removable when you’re ready for a change.
How to make press-on nails last longer
Want to know how to make press-on nails last longer? These small habits make a big difference:
- Apply at the right time. Choose a time when your hands will stay dry for a few hours. Many pros recommend applying before bed.
- Wear gloves for chores. Cleaning products and prolonged water exposure can weaken the adhesive bond.
- Avoid using your nails as tools. Opening cans, peeling stickers, or prying objects can cause lifting at the tips.
- Address lifting early. If a corner starts to lift, add a small drop of glue underneath and press firmly to reseal.
- Be mindful of heat and steam. Long hot showers and saunas can soften adhesive over time.
- Keep cuticles hydrated. Apply cuticle oil around the nail to maintain a polished, healthy look.
- Utilize topcoats. If you’re creating the perfect manicure look at home, ensure you use a topcoat to lock in your custom designs.
“A pro tip is applying a no-wipe topcoat over press-ons to protect the design.”
–Juli Russell, Sally Expert
With the right care, your press-ons won’t just look good on day one. They’ll stay secure, smooth, and salon-worthy well into your wear time.
Can you reuse press-on nails?
Yes, can you reuse press-on nails? Absolutely, as long as they’re removed carefully and still in good condition.
The key to reusability is how you take them off. Press-ons applied with adhesive tabs are typically the easiest to reuse because they leave less hardened residue behind. Glue-on sets can also be reused, but only if the nails are removed gently and the glue is properly cleaned off the back without damaging the shape.
To prep them for reuse:
- Gently remove leftover adhesive from the back of the press-on using a nail file
- Avoid over-filing, which can thin or warp the nail
- Wipe them clean and store them in their original packaging to maintain their shape
| Adhesive Type | Best For | Wear Time | Removal Ease | Reusable? |
|---|---|---|---|---|
| Adhesive Tabs | Short-term wear, events | 1–3 days | Very easy | Yes |
| Nail Glue | Longer wear | 10–14 days | Moderate (acetone soak) | Sometimes |
Keep in mind that durability varies by material. Higher-quality, flexible press-ons tend to hold up better for multiple wears.
How to remove press-on nails safely
Removing your press-ons the right way is just as important as applying them. The goal is simple: protect your natural nails while gently breaking down the adhesive. Never force or rip them off because that’s what leads to damage.
Here’s how to remove them safely based on the adhesive you used:
Removing adhesive tabs
Adhesive tabs are designed for easy, short-term wear press-ons, which means removal is usually quick and gentle.
Start by soaking your hands in warm, soapy water for 10–15 minutes. This helps loosen the adhesive. Once softened, gently lift from the side using a cuticle stick. If you feel resistance, soak a little longer rather than pulling.
After removal, lightly buff away any leftover adhesive and finish with cuticle oil to rehydrate your nails.
How to soak off press-on nails
If your press-ons feel extra secure or don’t lift easily after basic soaking, learning how to soak off press-on nails can help loosen the bond safely.
Start by lightly filing the surface of the press-on. This helps warm water and oil penetrate more effectively. Then soak your nails in warm water mixed with cuticle oil for 15–20 minutes. The oil helps break down the adhesive while keeping your natural nails conditioned.
As the adhesive softens, gently rock the press-on side to side rather than lifting upward. This reduces stress on your natural nail plate. If needed, re-soak before attempting removal again.
This slower soak-off approach is ideal if you want to preserve the press-ons for reuse and protect your natural nails at the same time.
Removing glue-on press-ons
Glue-on press-ons require a bit more patience, but safe removal keeps your natural nails strong.
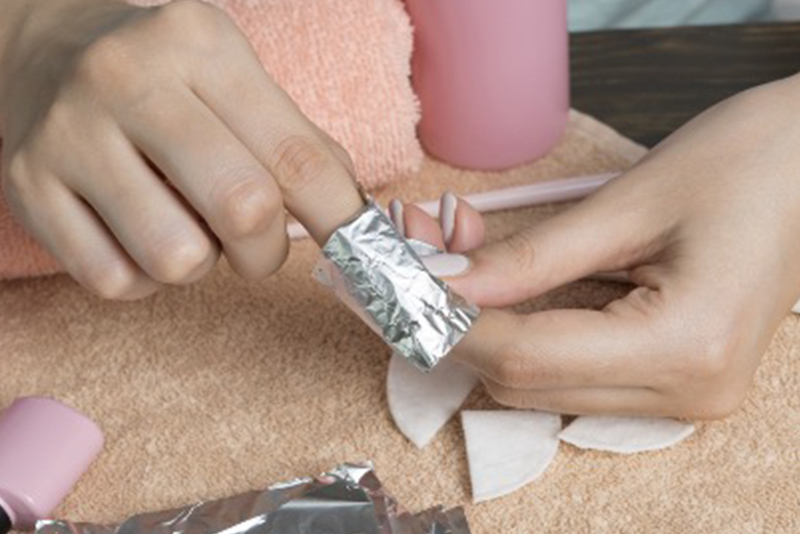
Begin by trimming the length of the press-ons if they’re long; this reduces leverage while soaking. Then soak your nails in acetone nail polish remover (or use acetone-soaked cotton wrapped in foil) for about 15–20 minutes.
As the glue softens, gently nudge the press-on off with a wooden cuticle stick. Never force it; if it doesn’t slide off easily, soak a few minutes longer.
How to remove press-on nail glue
After your press-ons are removed, you may notice small patches of glue left on your natural nails. Knowing how to remove press-on nail glue properly helps prevent peeling or thinning.
Start by lightly buffing the surface of the nail to break up the hardened glue. Then soak a cotton pad in acetone and press it onto the nail for a few minutes to soften any remaining adhesive.
Once the glue loosens, gently wipe it away or use a cuticle stick to lift it off. Avoid scraping aggressively. If the glue feels stubborn, reapply acetone and give it more time.
Finish by washing your hands and applying cuticle oil for restoring moisture and a nail strengthening treatment to strengthen the nail. Acetone can be drying, so rehydrating your nails is an important final step.
Do press-ons damage your nails?
Wondering, do press-on nails damage your nails? When applied and removed correctly, press-on nails are not inherently damaging. In fact, they can be a gentler alternative to long-term enhancements like acrylic nails because they don’t require continuous filing or frequent salon fills.
Most damage people experience doesn’t come from the press-ons themselves, it comes from improper removal. Pulling or popping them off without loosening the adhesive can strip layers of your natural nail, leaving it feeling thin or weak.
The key to keeping your nails healthy is simple:
- Prep properly before application
- Avoid over-filing your natural nail
- Never force removal
- Rehydrate with cuticle oil or a strengthening treatment after wear
Common press-on nail mistakes to avoid
Even though press-ons are beginner-friendly, a few small missteps can shorten wear time or affect how natural they look. The good news? They’re easy to fix.
Here are the most common mistakes and how to avoid them:
- Skipping nail prep. Oils and residue prevent proper adhesion. Always start with clean, dry nails.
- Choosing the wrong size. Nails that are too large can lift at the edges; too small and they won’t fully bond. Refer to a press-on nail size chart or aim for a snug, sidewall-to-sidewall fit, even if using press-ons for wide nail beds.
- Using too much glue. Excess glue can cause air bubbles and messy overflow. A thin, even layer works best.
- Not pressing long enough. Holding each nail firmly in place helps create a stronger seal.
- Forcing removal. Peeling them off can damage your natural nail plate. Always soak and loosen first.
Best press-on nail styles to try
One of the biggest perks of press-on nails? You can change your shape, length, and vibe whenever you want. Whether you lean minimal or love a bold moment, there’s a style that fits your mood, and your schedule.
Here are a few go-to press-on styles to try:
Short & Natural
Clean, polished, and perfect for everyday wear. Short press-ons in soft pinks, nudes, or classic French tips give you that subtle-glam finish which are ideal for work,
school, or low-maintenance aesthetic.
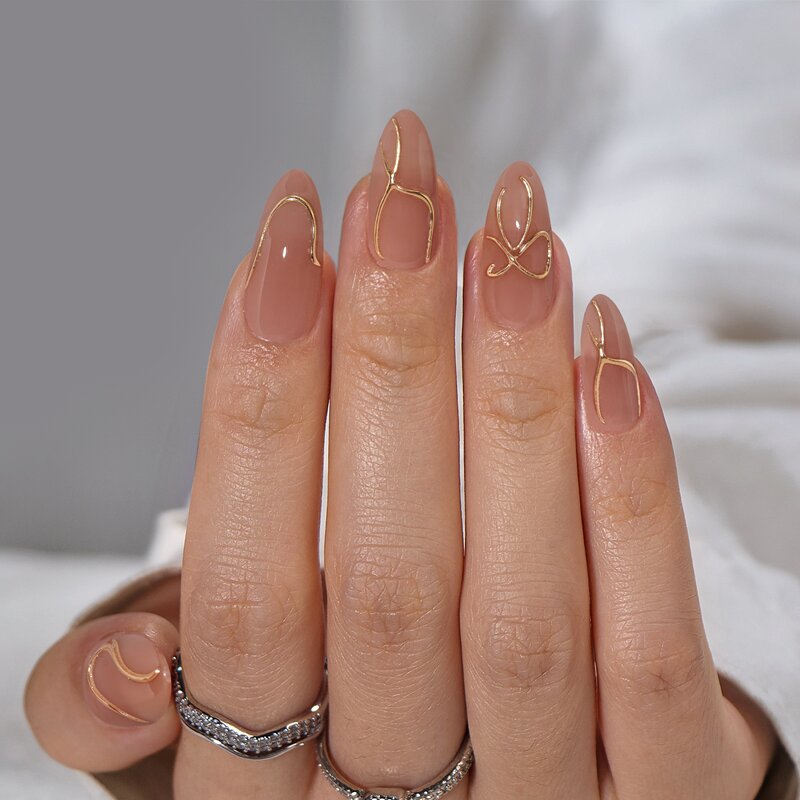
Almond
Softly tapered and ultra-flattering, almond shaped press-ons elongate
the fingers and feel effortlessly elegant. They’re a great balance between wearable and elevated.
Coffin (Ballerina)
A statement shape with a squared-off tip, coffin nails are bold
without being over-the-top. Perfect for chrome finishes, ombré, and trend-forward designs.
Square
Classic and clean, square press-ons offer a timeless silhouette
that works with everything from glossy neutrals to graphic nail art.
Long & Dramatic
If you’re ready to go full glam, longer lengths like stiletto press-on nails bring
instant drama.
Think high-shine finishes, metallics, and intricate designs that turn your nails into a true accessory.
Whether you prefer cute press-on nails or sophisticated neutrals, the beauty of press-ons is that you don’t have to commit. Try something bold this week, switch to minimal next week. Your nails, your rules.
Ready to try press-on nails?
Whether you’re new to nail enhancements or just ready for something more flexible, press-on nails make it easy to upgrade your look.
They’re quick. They’re customizable. And when applied with care, they deliver a smooth, salon-worthy finish that looks professionally done. From everyday neutrals to bold, trend-forward designs, there’s a set that fits your style and your lifestyle.
When you’re ready to create your next nail moment, Sally Beauty has everything you need to make it seamless:
- Shop press-on nail kits in a variety of shapes, lengths and finishes
- Find nail glue, adhesive tabs and prep essentials for long-lasting wear
- Stock up on cuticle oil and strengthening treatments to keep your natural nails healthy between sets
Explore the latest press-on styles and pro-approved nail supplies at Sally Beauty and get ready to press, set, and shine.
Press-on nail FAQs
How long do press-on nails last?
Press-on nails can last anywhere from 1 to 14 days depending on the adhesive you use. Adhesive tabs are great for short-term wear (1–3 days), while nail glue can hold for up to two weeks with proper prep and care. Lifestyle, water exposure, and application technique all affect longevity.
Which press-on nails are the best?
The best press-on nails are the ones that fit your nail shape, lifestyle, and style preference. Look for flexible materials that contour comfortably, multiple size options for a custom fit, and high-quality adhesive for long wear. Soft gel press-ons tend to look the most natural and feel lightweight.
What is the downside to press-on nails?
Press-ons are low-commitment and beginner-friendly, but they can lift early if prep is skipped or adhesive is applied incorrectly. The biggest risk comes from improper removal as peeling them off can damage your natural nails.
What is the healthiest fake nail option?
Press-on nails are often considered one of the gentler enhancement options because they don’t require continuous filing, harsh chemical application, or frequent fills. When applied and removed properly, they allow you to enjoy added length and style with less long-term stress on your natural nails.
Which is healthier: press-on nails or gel nails?
Press-ons can be healthier for some people because they don’t require UV curing or repeated soak-offs every few weeks. Gel manicures are durable, but regular removal with acetone and reapplication can dry the nail plate over time. Proper removal is key for both options.
Do I put nail glue on my real nail or the press-on?
You can apply nail glue to your natural nail, the back of the press-on, or both. For the strongest hold, apply a thin, even layer to your natural nail and a small amount to the press-on. Avoid using too much as excess glue can cause air bubbles and overflow.
How do I stop my press-on nails from popping off?
To prevent lifting, start with clean, oil-free nails, choose the correct size for each finger, apply firm pressure for at least 15–30 seconds, and avoid water for the first hour. If you notice early lifting, add a small drop of glue and press firmly to reseal.
Can you shower with press-on nails?
Yes, but it’s best to avoid water for at least an hour after application. Long, hot showers and prolonged soaking can weaken adhesive over time, especially with adhesive tabs. For longer wear, use glue and limit extended water exposure.
Are press-on nails good for beginners?
Absolutely. Press-ons are one of the most beginner-friendly nail enhancement options. They require minimal tools, no UV lamp, and no professional experience, making them perfect for experimenting with length, shape, and style at home.

