-
Step 1
Properly prep nails and apply 1 coat of OPI Natural Nail Base Coat and allow to dry.
-
Step 2
Apply 1 coat of OPI Baby Take a Vow and allow to dry.
![]()
-
Step 3
Using a nail art detail brush and a square of tin foil or parchment paper as a palette, add a generous dot of OPI Cajun Shrimp and make an “A” shape on the nail.
![]()
-
Step 4
Add the line that crosses the “A” extending the sides so you can make the star “arms”.
-
Step 5
Connect the bottom and side arms of the “A” so you have a five pointed star and fill in the center.
![]()
-
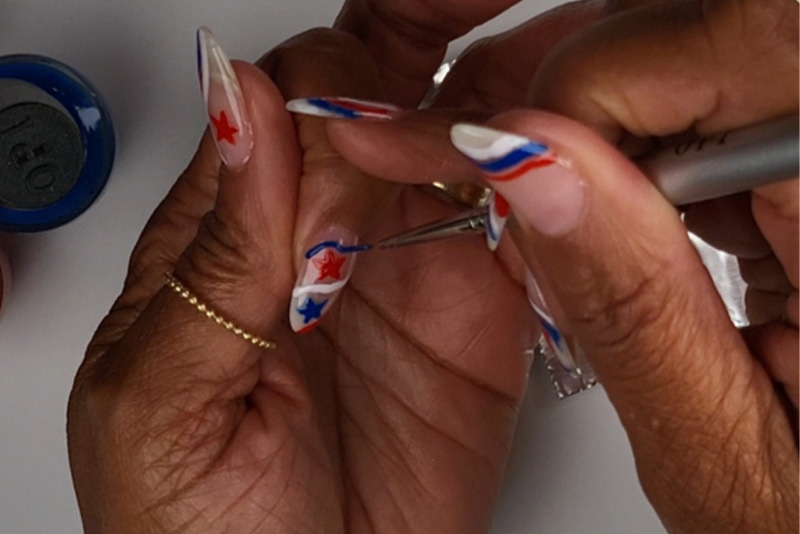
Step 6
Repeat steps 4 and 5, with OPI Alpine Snow and your favorite blue nail color, placing the number of stars you desire on the nails you choose.
-
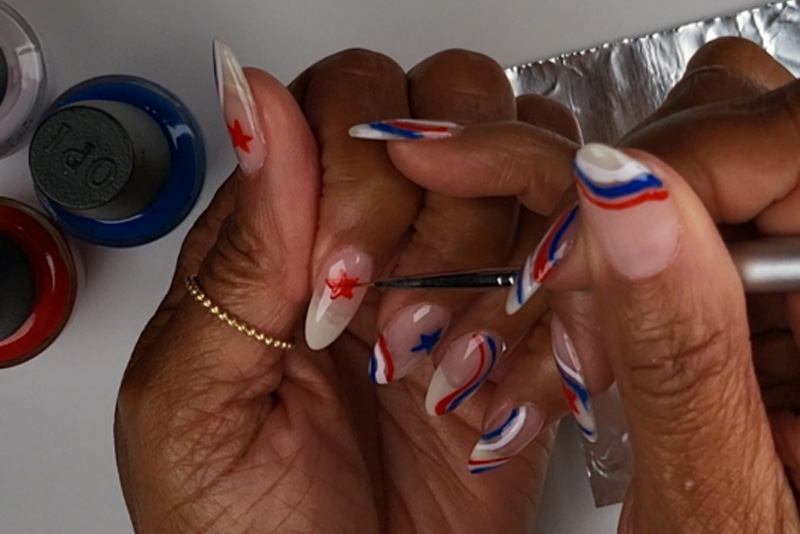
Step 7
Using your nail art detail brush and the shades above make swooshes of each shade around and near the stars creating a wavy stripe effect. The number of stripes is your preference.
![]()
-
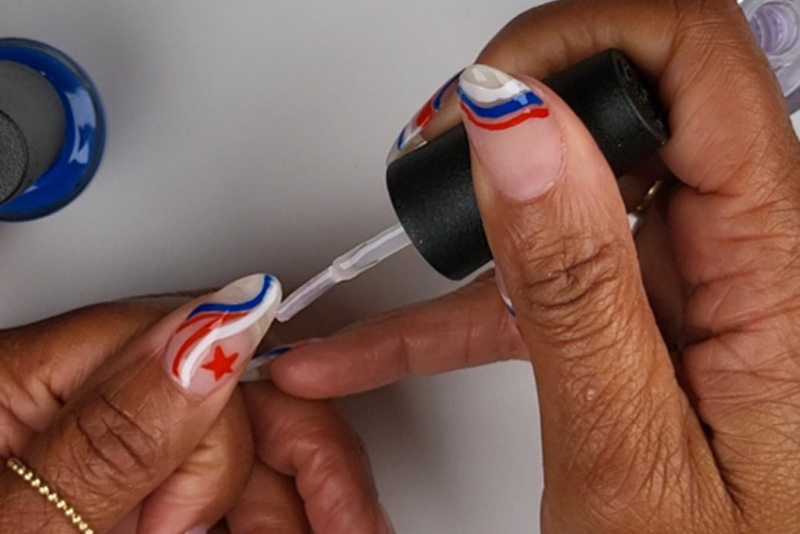
Step 8
Allow the nail art to dry and generously apply OPI Top Coat in a floating manner. Try not to brush over the design repeatedly to avoid dragging the colors in your design.
![]()
-
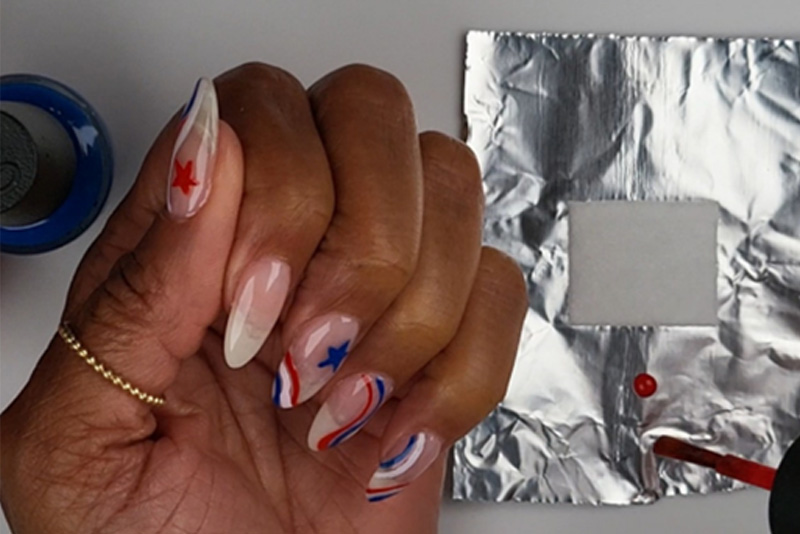
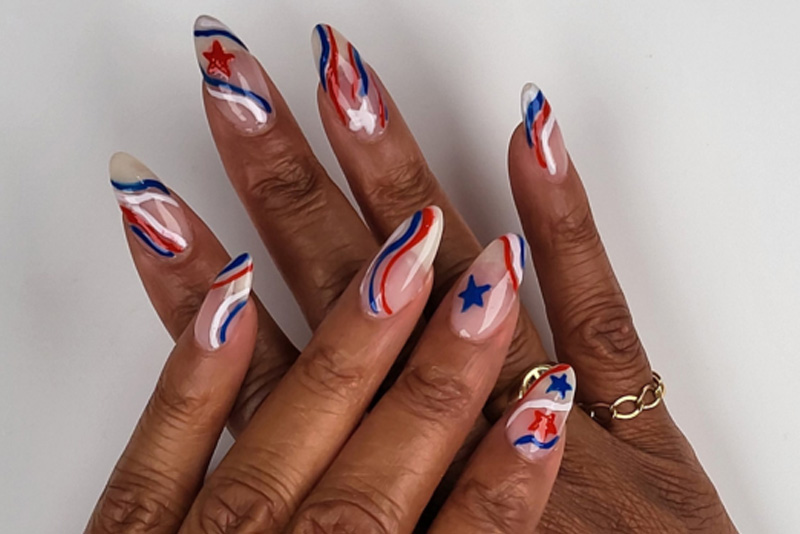
Final Look
![]()